AR murals – dev blog 1

I’m working on a AR project with a friend who is passionate about Augmented Reality projects. We took a murals tour where we live and instantly came up with an idea to add a cool layer to the murals via AR.

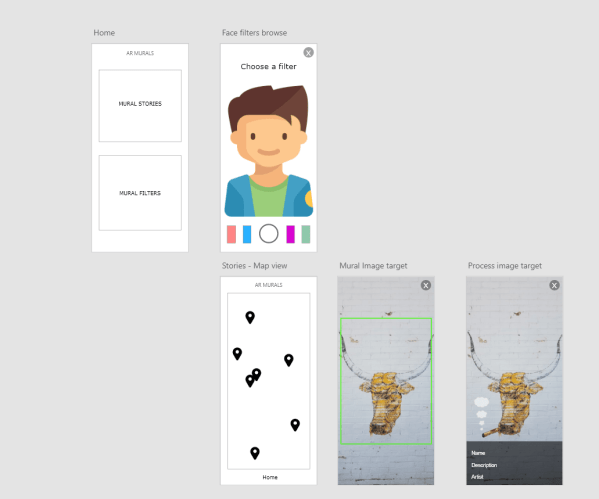
Stage 1: Fleshing out the plan with wireframe


Capture

Match Color game

I’ve been having a lot of fun going back to basics and coding a 2D game in Unity.

It’s a classic match colors game that checks for correct patterns (no diagonal matching), square patterns and keeps replenishing the board. You can also disconnect colors by swiping back. I’m working on adding an option to make it a move-based game as well. Here’s a video clip:

Water Droplets in Houdini

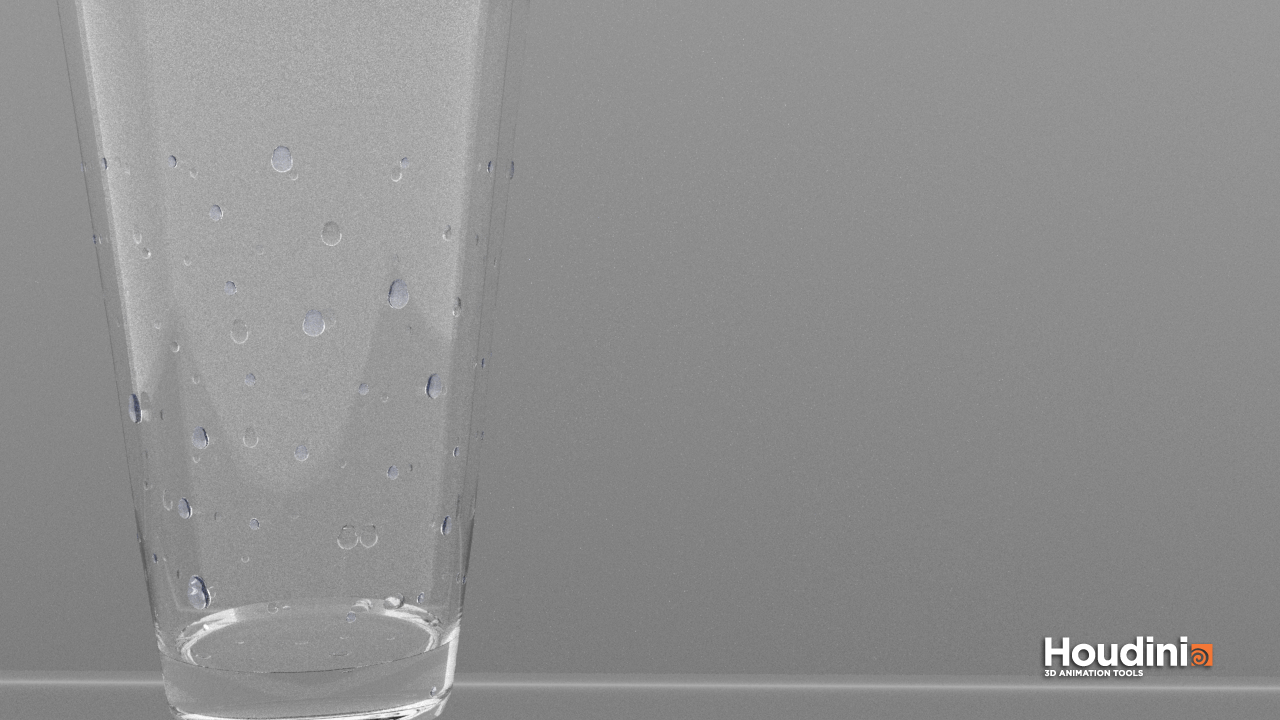
This week I learned more about working with VOPs in Houdini – a powerful tool to manipulate point attributes. Using this we can create water droplets on a surface by tweaking attributes of scattered points of the surface geometry . Attributes such as position, normals, colour and other custom attributes.

glass

To create the water droplets we will basically scatter points of a geometry on which we want to create the droplets. Using copy to points node we can copy tiny spheres to replace the points. To make the spheres look like droplets we are going to add smaller spheres on top of each sphere, combine them and then smoothen them out. This is where we will be heavily relying on point VOP nodes.

  1. To create a pscale for the spheres. Using a simple noise function we can assign random sizes to the spheres.
  2. To create smaller spheres on top and move them along the surface upward. This can be achieved using vector functions.
    • Cross product between each point’s global y direction and it’s normal
    • Cross product between the resulting vector and the point’s normal
  3. Displace the smaller spheres on top by moving the new vector a little away from old points.

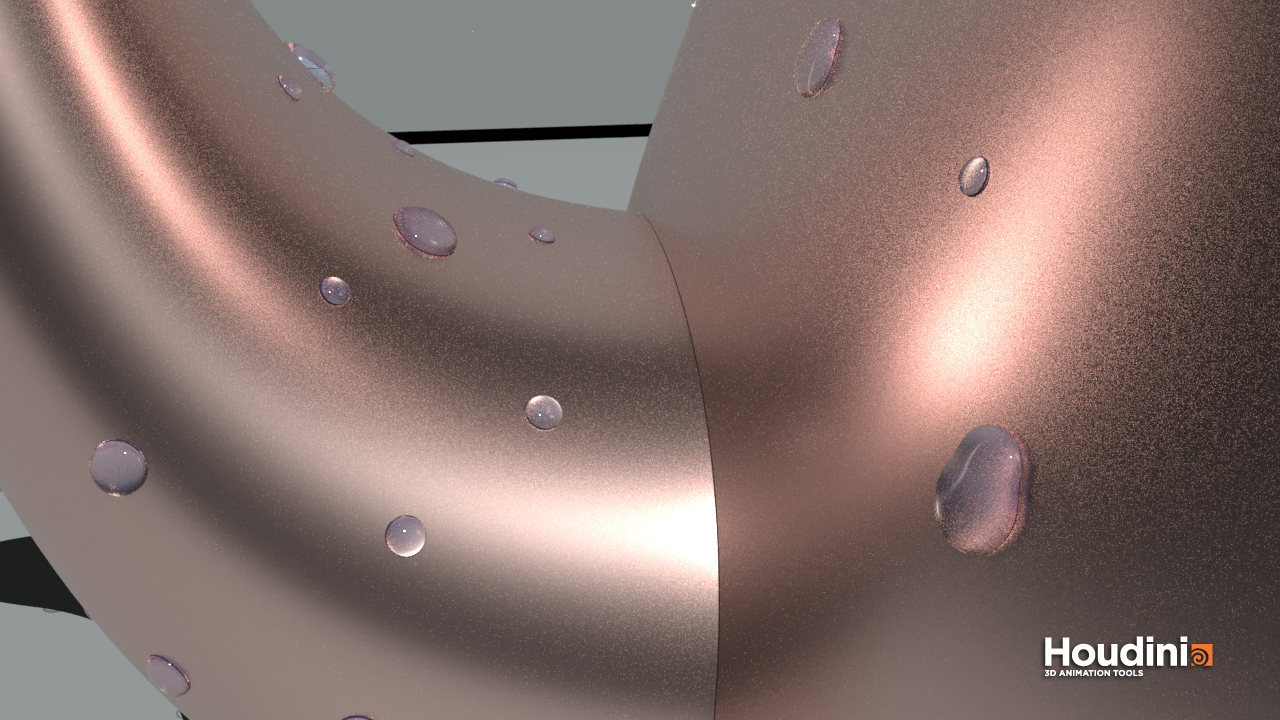
Had so much fun just rendering with different geometries and scatter amounts.


kettle_highres

Denting and abstract geometry in Houdini

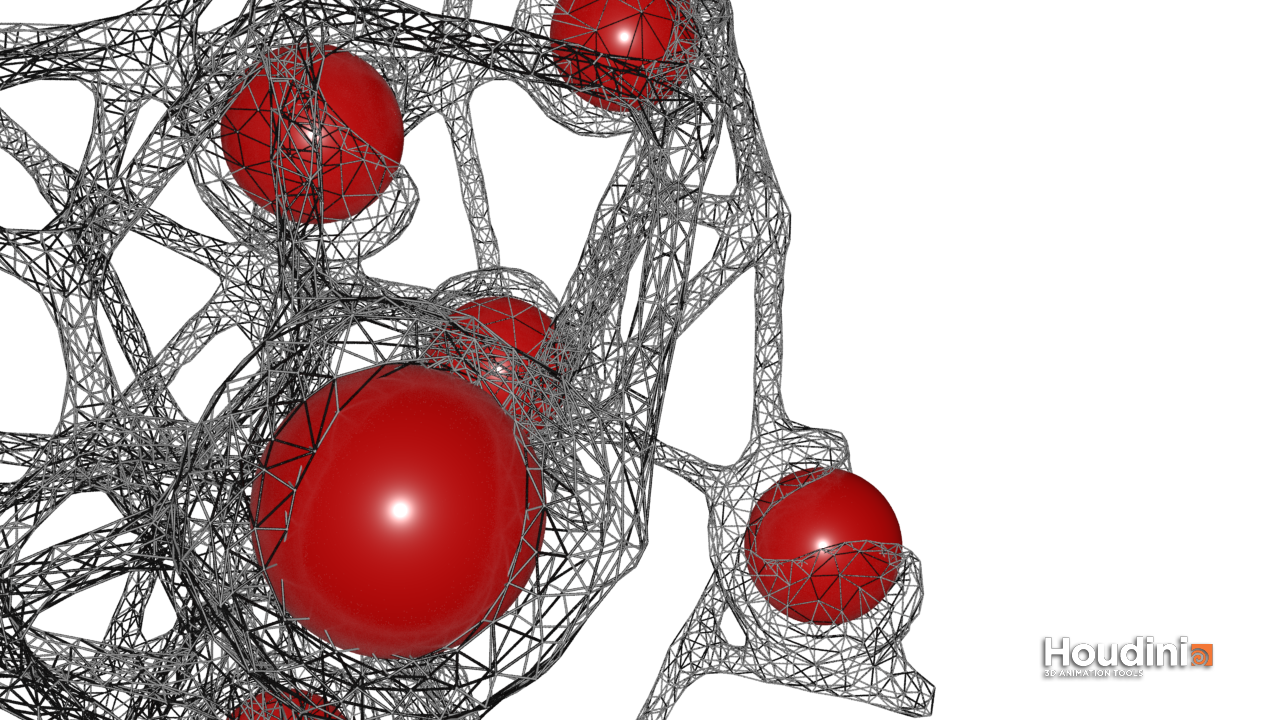
abs
Attach the abstract geometry and perform wireframe edit before merging the two geometries to get this result

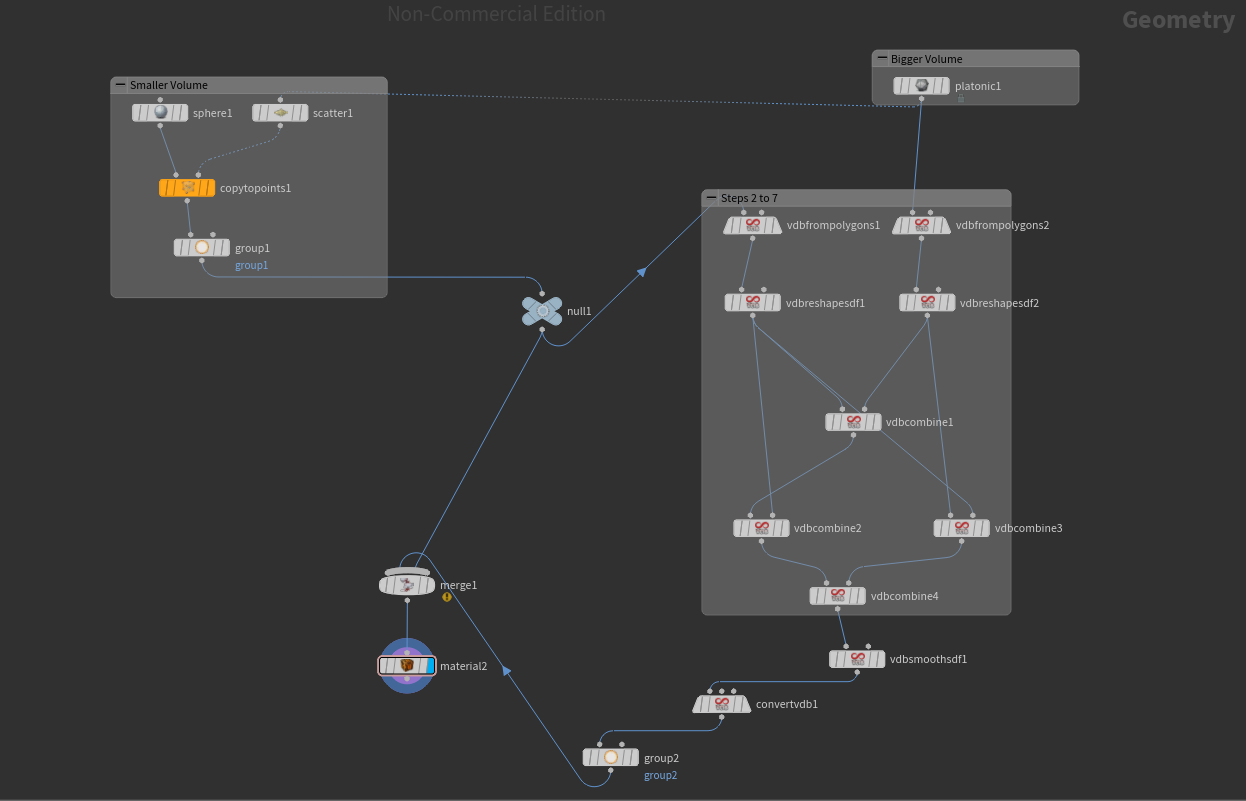
I watched this amazing tutorial on volume boolean denting (link) using boolean functions on Volumes in Houdini. We’re essentially converting two geometries in their polygon forms to volumetric forms (voxels) and perform boolean difference and intersection before finally merging them.

I will be sharing the node network in this post and also describe each step to make it easier to understand

  1. Create two geometries – usually the bigger polygon will be dented with a smaller one
  2. Convert the polygons into volumes by using the VDB from polygons node
  3. Use the VDB Reshape node to expand both the volumes slightly before performing boolean difference. This will help create a bulge where the dent is formed.
  4. Use the VDB Combine node to combine both the expanded volumes using SDF Intersection function
  5. Now remove the smaller volume(before expansion) from the expanded one using VDB Combine and choosing the SDF Difference function
  6. Remove the smaller volume from the bigger one using the same VDB Combine node and SDF difference function
  7. Combine the last two nodes using SDF Intersection
  8. Smooth the volume using VDB Smooth
  9. Convert the resulting volume back to polygons using Convert VDB node
  10. Merge the original small sphere with the final polygon mesh to make it visible

Dent


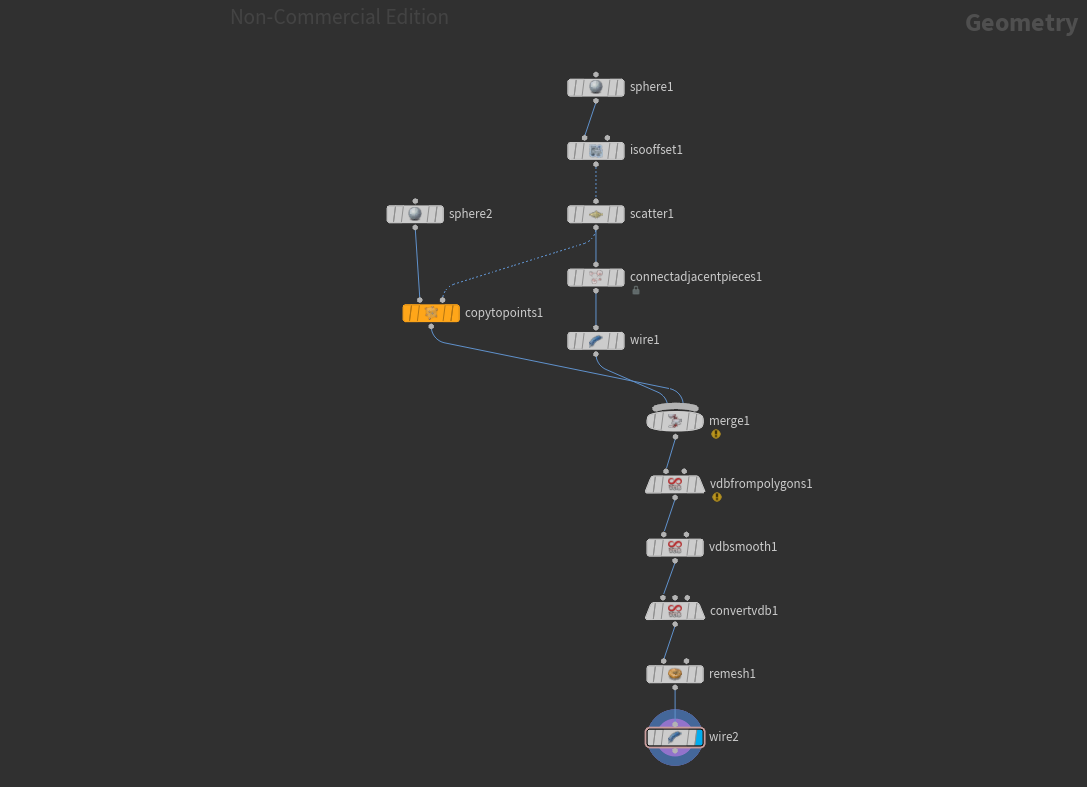
Node set up for the abstract geometry is pretty simple:

abs.PNG

VR development – Lessons learned

I’ve developed VR games for Oculus Rift, Gear VR and Cardboard which are for windows and android platforms. Integrating Unity, Android and VR took longer than I expected for the first time as there were some compatibility issues with Unity and Android api packages.

There are some rendering standards when it comes to mobile VR such as maintaining 50-100 drawcalls per frame, 10- 200k polycount per frame etc. For my first android VR game I did not pay attention to these standards and as a result I overloaded my Samsung device and the game was very slow with a frame rate less than 50fps. I discovered a lot of optimization methods and bottleneck areas in the game that caused low performances. I followed developer blogs from popular games and Oculus forums and realized how important it is to learn from experience.  Here are a few integration and optimization lessons learned while working on VR games specifically.

  1. Unity fails to build your apk file with the error – failed to repackage resources in apk – this is because the latest version of android api package (api 26) is not compatible with Unity.  So I always stick to api 23.
  2. Oculus utilities need Unity 4.6 – this is a common error and the solution is to use Oculus_utilities package instead of the Oculus_mobile_sdk package (even for android builds) and then enable Virtual-Reality-Supported option in the project settings.
  3. If you are importing models from Maya, make sure that the polygon count of the model is below 100k. I optimized some of the meshes using  the Reduce function and this did not always work out well, so it’s better to keep polycount in mind right from the beginning and avoid reduce function.
  4. Lighting plays an important role in game performance as your mobile device has to render every frame as two images for VR unlike regular games. So, it is always better to bake lightmaps for your static objects. Dynamic lighting  will affect the performance unless you have a single static scene.
  5. Bake your lightmaps after you’re done developing the scene as it is a long process if you have a lot of game objects and if you’re in the android platform. So I always uncheck the Auto bake option in the Lighting window and bake lightmaps towards the end.
  6. If the baking still takes a lot of time, switch platform to windows and bring up the shadow quality in your quality settings and bake the lightmaps. I learned this from a developer blog
  7. If you are using a camera space canvas(i.e if you want your UI to follow the camera), then use a distance of 1 to avoid the canvas from colliding with world space objects.
  8. Turn off the gravity modifier component of the OVR player controller (if you’re not using physics) . This avoids physics update processes in every frame.

How to create Simple Fire in Maya

For one of my Animation Film projects I had to create a fire pit using Maya. This was for the environment art and we didn’t want to use a lot of dynamics to spare the rendering time. Using paintbrush it is very easy to create flame effects.
You can create Coarse, Fine and Medium flames. I used coarse for the fire pit.

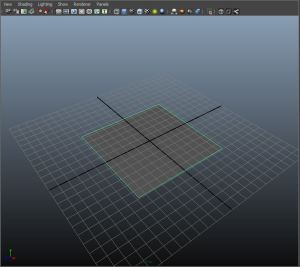
1. Create a plane/surface/object on which you would want to create the fire. I used a plane here.

viewport

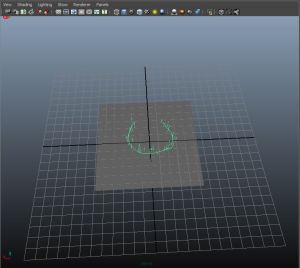
2. Go to Renderings shelf and PaintEffects Menu. Select Get Brush and choose the flameCoarse.mel brush and draw an arc using the brush tool.

step2
3. This will create the flameCoarse node. Select the node using Outliner and scale it using Global Scale value if needed. I’m using a value of 10.
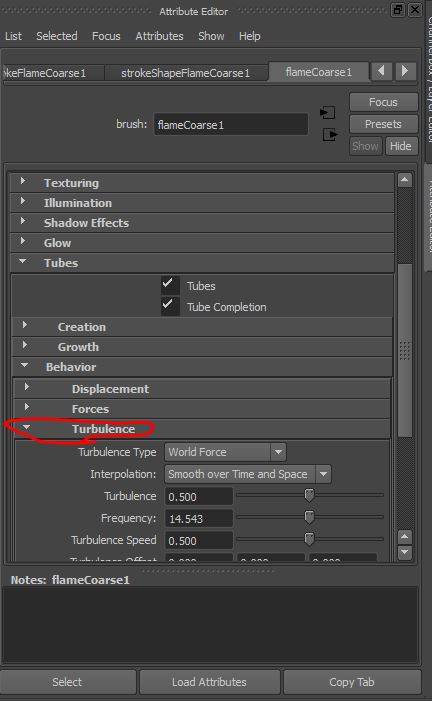
4. To adjust the flame growth appearance go to the Tubes section and open Behaviour -> Turbulence. Higher values of Turbulence will create a chaotic effect on the flames. Set the value to 0.5 and play the timeline to see if you got the desired effect. Play around with the frequency value as well.

step4
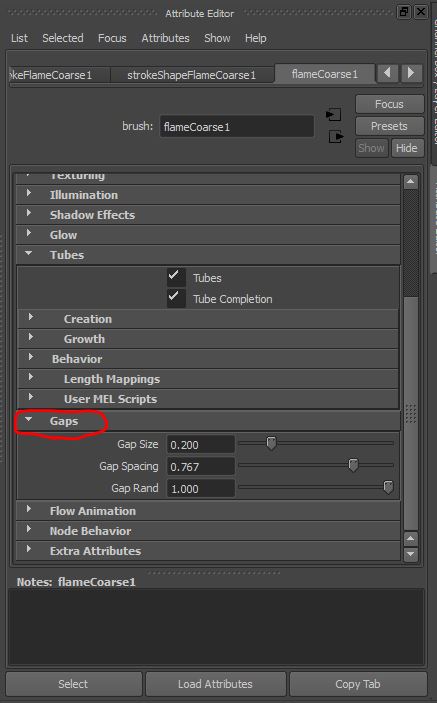
5. Right below behavior tab there is a tab called “Gaps”. Notice how the flame is breaking towards the Y direction. I’d use a samller gaps here as the flame size is not too big. So set the gap size to 0.2.

step5
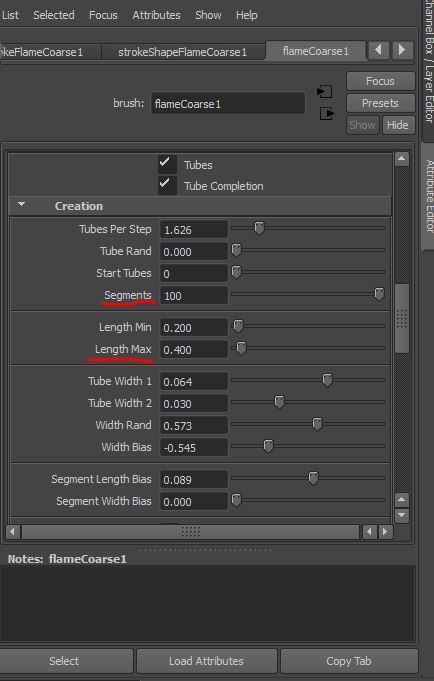
6. Now to change the height and growth of the flames go to the Tubes section’s Creation Tab. Set height minimum and maximum to 0.2 and 0.4 respectively. Set the segments to 100 to create a smoother curve. Change tubes per step to 10.
Some flame strokes will be fat and some thin. You can also adjust that using the Tube width parameters.

stp5
7. Finally, go to the Flow Animation tab and set the flow speed to 4.

Paint Effects has its in-built dynamics for flames so you don’t have to worry about the Physics here. Play around with the parameters and render the animation.


Notes from Oculus Connect 2: VR Games Lessons Learned

Oculus Connect 2 is the second annual conference where engineers, developers, designers and artists come together to learn about building VR games and applications for various platforms and also share their project works at the developers lounge.

This year, Oculus Connect was held at Loews Hotel at Hollywood, Los Angeles and there were around 1500 participants from all over the world.

The trending news all over the Internet is about Samsung’s $99 Gear VR and the Oculus Medium. Apart from all these really exciting takeaways there are plenty of other lessons learned from the leaders of the industry. One of which is ‘Game Unrules’ by Jason Rubin, Head of Studios, Oculus.

I started developing VR games this year and I’m still learning as I develop. One of the most challenging tasks in developing a VR game is to get the GUI right. Creating a GUI with buttons and sliders and other elements is quite easy using Unity’s Canvas but getting them to work on Oculus’s screen is tricky because: Unity’s GUI elements respond only to your PC/Mac cursor and Oculus does not show your PC/Mac cursor. You can only aim through a distorted cursor that your game renders for Oculus which will result in faulty interaction. There are some solutions found online such as simulating a cursor in world-space or to aim using Ray-casting which is probably a better solution since it avoids the need for a joystick/keyboard.

Here are a few things learned from the past:

Targeting: This is relevant for Aim & Shoot games

Mistake: Different targets for each eye and a single point indicator.

Best Practice: Use concentric circles or holographic tubes as indicators around the target

Controls: Another interaction design element that is very important in handling VR games

Mistake: When players have to look down at the controller to see the buttons.

Best Practice: Provide an image/mock-up of the joystick controller explaining the controls and positions of each key. 3D model of the joystick is another option

Heads Up Displays:

Mistake: This works well for games that aren’t VR. Using the same mechanics for a VR game doesn’t necessarily work. It is found that we do not use our peripheral vision as much as we do without a headmount display. So making use of the corners in the screen is a big mistake in VR.

Best Practice: Eg: during cool down shots, instead of indicating the progress in a HUD, use the aiming circles to indicate percentage or progress. Using bottom screen to display the mission objective.

hud

Learning Rate:

Mistake: Expecting the player to dive into the game and learn as they play.

Best Practice: Use time freeze to explain the functions and environment so that the player gets used to the VR world. Use trackers to highlight objects in the game so that the player looks in the direction that you want them to.

Attention:

Mistake: Forcing the player to a certain direction or object in the game space.

Best Practice: The player may not look at all the objects/elements in the virtual world and some of them are treated as background. To get the player’s attention, tie a game-play to the object that you want the players to see.